Are you a real estate agent or broker looking to create a professional website? Do you want to showcase your listings and attract new clients? WordPress is a powerful and user-friendly platform that can help you build a stunning and effective website for your business.
In this post, we’ll walk you through the steps of creating a real estate website with WordPress, from choosing a theme to adding property listings and integrating with an MLS or IDX service.
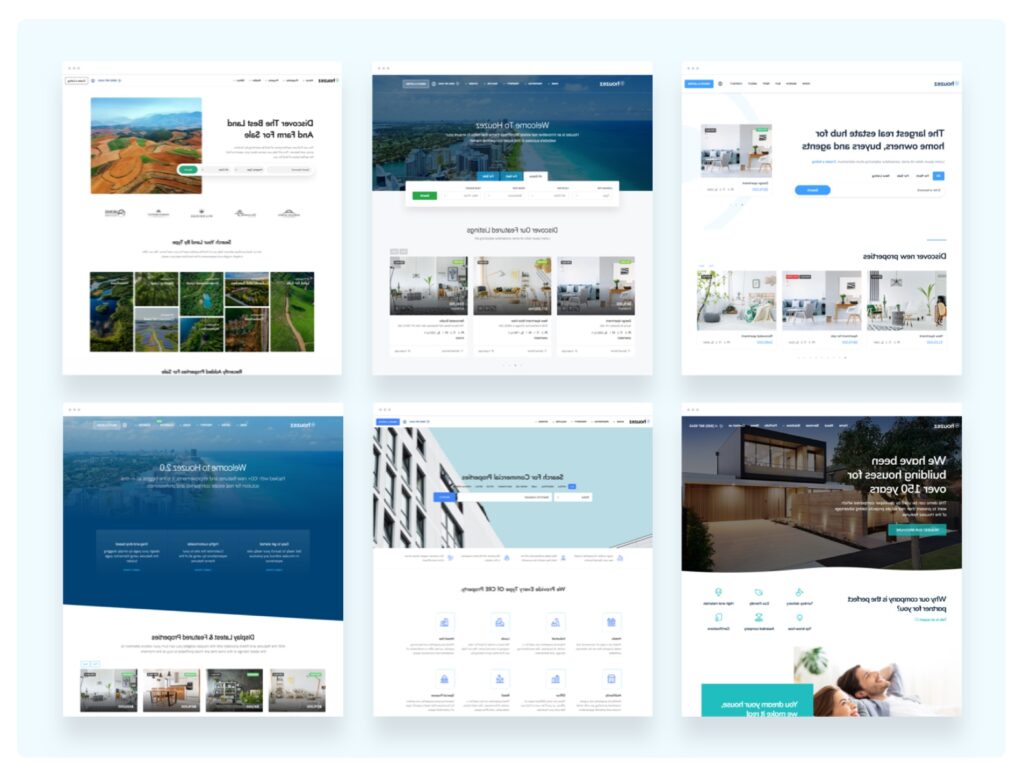
Step 1: Choose a Real Estate-Specific WordPress Theme
The first step in building a real estate website with WordPress is choosing a theme that is specifically designed for this purpose. There are many great options available, both free and premium, that offer a range of features and design options for real estate websites. It’s a good idea to choose a theme that is compatible with a page builder like Elementor, as this can make it easier to customize the layout and design of your website without any coding knowledge.
When choosing a theme, consider the following factors:
- Design: Look for a theme that has a clean, modern design and is easy to navigate.
- Features: Make sure the theme includes features that are important for real estate websites, such as property listings, customizable search functionality, and integration with an MLS or IDX service.
- Responsiveness: Choose a theme that is responsive, meaning it will look great on any device, including smartphones and tablets.
- Ease of use: Look for a theme that is easy to customize and has a user-friendly backend interface.
Step 2: Set Up the Structure and Layout of Your Website
Once you’ve chosen a theme, it’s time to set up the structure and layout of your website. This will involve adding pages, such as a homepage, an about page, and a contact page, and arranging them in a logical and easy-to-navigate hierarchy. Some premium themes even include pre-built demos as a perfect starting point, which can save you time and effort in setting up your website.
You’ll also want to customize the appearance of your website, including the header, footer, and sidebar, to match your branding and design preferences. Most WordPress themes include customization options in the backend interface, so you can easily make these changes without any coding knowledge.
Step 3: Add Property Listings to Your Website
As a real estate professional, the main focus of your website will likely be your property listings. Most real estate WordPress themes include features for adding, organizing, and displaying your listings, such as customizable search functionality, property details pages, and image galleries.
There are two main options for adding property listings to your website: manually or using an IDX system.
To add property listings manually, you’ll need to enter the relevant details, such as the property address, price, and features, and upload photos and other media. This can be time-consuming, but it allows you to have complete control over the content and presentation of your listings.
Alternatively, you can use an IDX (Internet Data Exchange) system to automatically import and display property listings from a multiple listing service (MLS) or another real estate database. IDX systems typically require a subscription fee, but they can save you a lot of time and effort in managing your property listings.
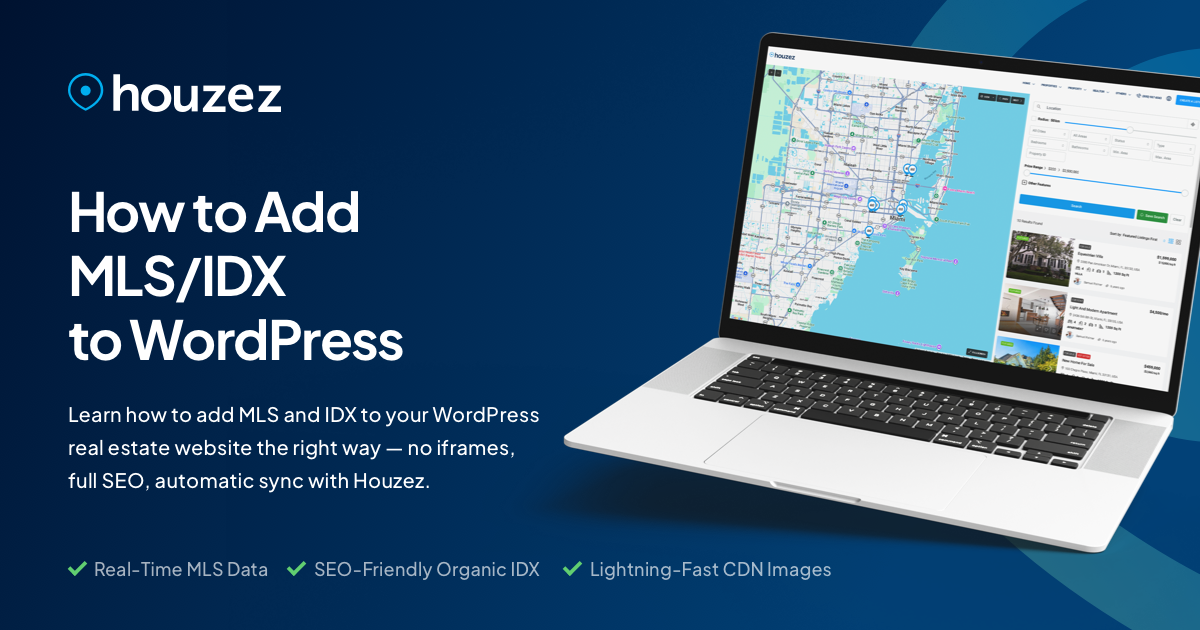
Step 4: Integrate with an MLS or IDX Service
If you choose to use an IDX system to manage your property listings, the next step will be to integrate your website with the MLS or IDX service. Most real estate WordPress themes include options for integrating with popular IDX systems, such as Realtyna, Diverse Solutions, and iHomefinder.
To integrate your website with an IDX system, you’ll need to obtain the necessary login credentials and follow the instructions provided by the IDX provider. This typically involves installing a plugin or adding a code snippet to your website.
Once you’ve completed the integration process, your website should be able to automatically display property listings from the MLS or IDX service, with the option to customize the search functionality and display options.
Step 5: Add Additional Features and Functionality
Your real estate website doesn’t have to stop at just property listings. You can also add additional features and functionality to enhance the user experience and help you stand out from the competition.
Some options to consider include:
- A blog: A blog can be a great way to showcase your expertise, provide valuable information to potential clients, and improve your website’s search engine rankings.
- Social media integration: Connecting your website to your social media accounts can help you reach a wider audience and keep your followers updated on new listings and other news.
- Lead capture forms: Adding lead capture forms to your website can help you collect information from potential clients and nurture leads through the sales process.
- Testimonials: Including testimonials from satisfied clients can help build trust and credibility with potential clients.
- Contact form: Adding a contact form to your website can make it easy for potential clients to get in touch with you and ask questions about your listings.
Step 6: Promote Your Website
Now that your real estate website is up and running, it’s time to start promoting it. Here are a few ways you can get the word out and drive traffic to your website:
- Share your website on social media: Share your website on your social media accounts and encourage your followers to check it out.
- Utilize SEO: Optimize your website for search engines by including relevant keywords in your website’s content and metadata. This can help improve your search engine rankings and make it easier for potential clients to find your website.
- Advertise: Consider investing in online advertising, such as Google AdWords or Facebook Ads, to reach a targeted audience and drive traffic to your website.
- Consider creating local listings: In addition to online directories specifically for real estate professionals, you can also create local listings on popular online directories and review sites such as Google My Business, Yelp, and Yellow Pages. These local listings can help potential clients find your website when searching for real estate services in your area. Additionally, encouraging satisfied clients to leave reviews on these sites can help build trust and credibility with potential clients.
Conclusion
Building a real estate website with WordPress is a straightforward process that can help you showcase your listings and attract new clients. By following the steps outlined in this post, you can create a professional and effective website for your business. With the right theme, structure, and functionality, you can create a website that represents your brand and helps you stand out in the competitive real estate industry.